Start with the workflow
A QR code is an entry point, not the reporting system.
The code should remove friction at the moment a resident notices a problem. Everything after the scan determines whether the report becomes useful operational information or simply another unstructured message.
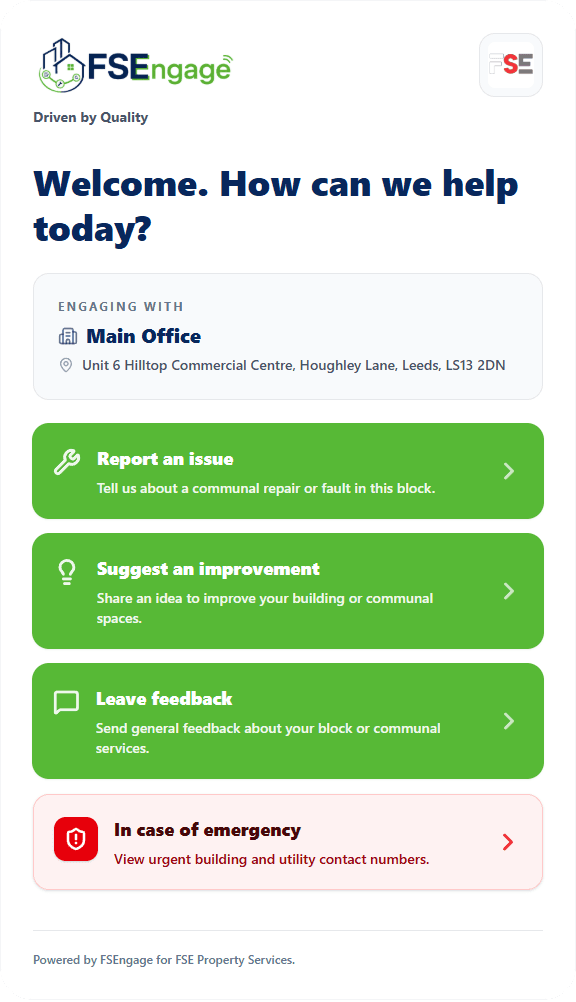
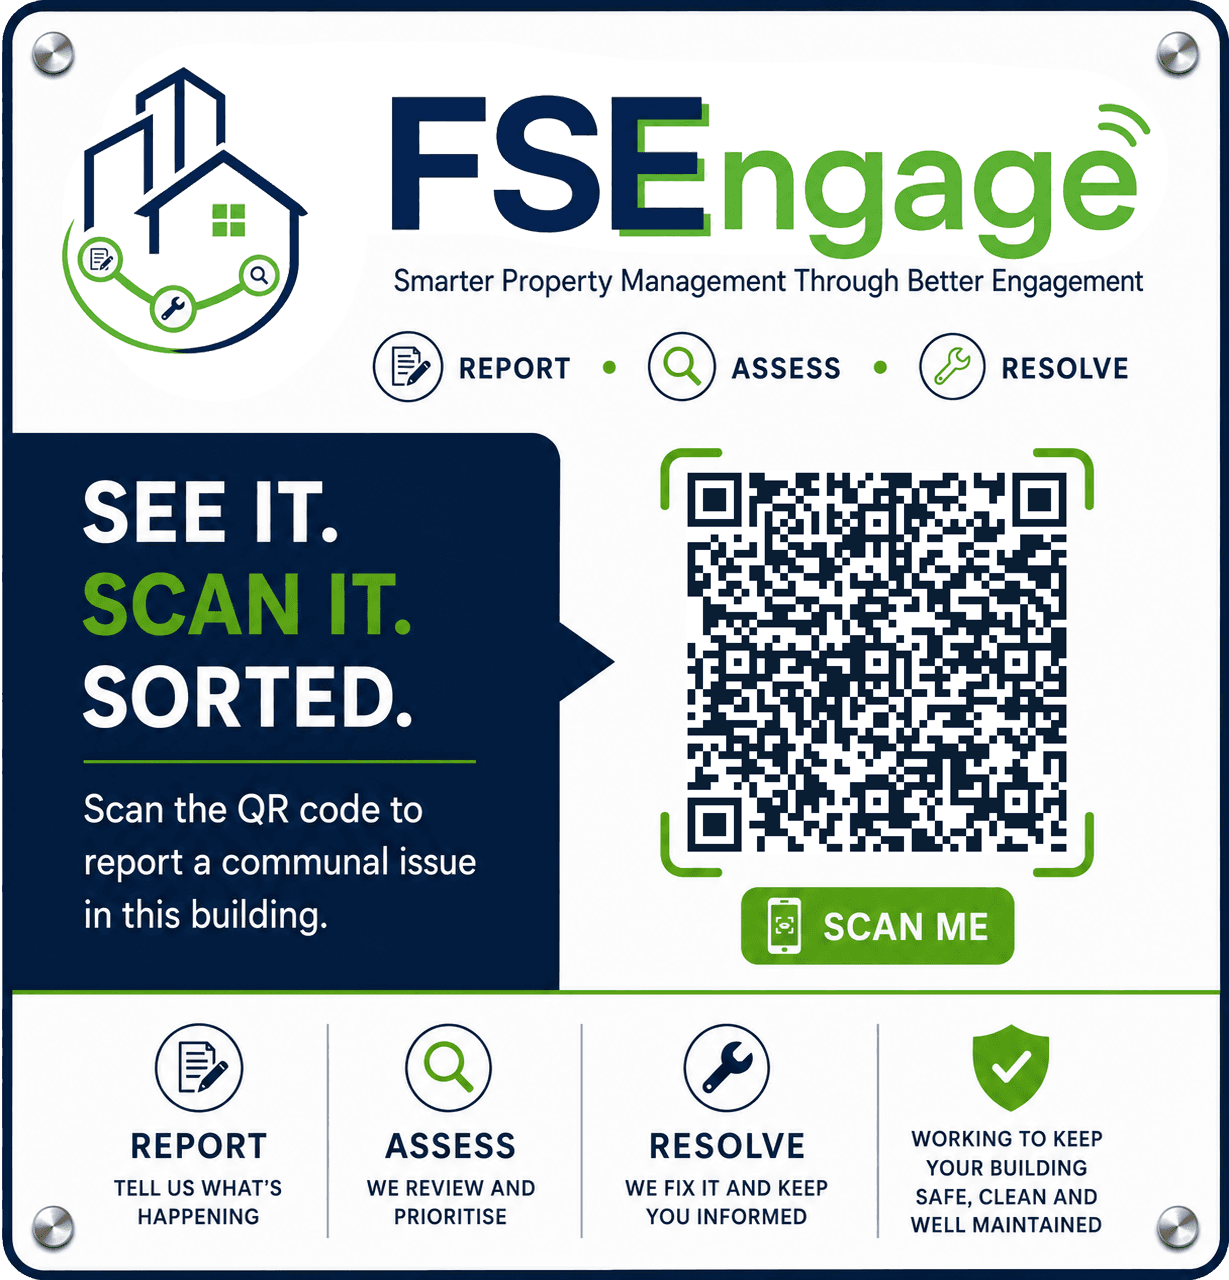
In a communal building, a printed QR code can open a browser-based reporting journey linked to that specific block. The resident does not need to search for a telephone number, remember an email address or identify the correct property record. The building context is already known before the first question is asked.
A strong implementation guides the resident through an appropriate task, collects only the details needed for a first decision and confirms what will happen next. The property team receives a structured record rather than trying to reconstruct the issue from a voicemail, forwarded email or photograph with no location.
Choose the right use case
QR reporting works best where the physical location adds context.
The most useful placements connect a clear, visible reporting point with a building-specific digital journey.
Communal entrances, lift lobbies, bin stores, shared corridors, plant-room approaches and notice boards can all be appropriate locations. Placement should reflect the issues residents are likely to notice and the point at which they naturally look for help.
A suitable location should
- Be visible without requiring residents to enter a restricted or hazardous area.
- Have sufficient lighting and space for a phone camera to scan the code.
- Make it clear who the reporting route is for and what types of request it accepts.
- Include a readable short instruction and a fallback contact route for people who cannot scan.
- Avoid suggesting that the QR route replaces emergency services or urgent safety instructions.
- Use a durable sign that can be cleaned or replaced without changing the secure building record.
Avoid treating one generic QR code as a shortcut to a long corporate contact form. A block-specific route should remove questions the resident should not have to answer, such as the building name, management reference or which office owns the property.
Reduce uncertainty
Design the resident journey around one clear decision at a time.
A short sequence of relevant steps is easier to complete and produces better information than one large form containing every possible question.
- 01
Resolve the building
The secure route identifies the active block and organisation without exposing internal database identifiers.
- 02
Show the available tasks
Offer clear choices such as report an issue, suggest an improvement, leave feedback or view approved emergency information.
- 03
Ask guided questions
Collect location, description, urgency, contact details and evidence in an order that makes sense to the resident.
- 04
Review and submit
Give the resident a chance to correct the record and acknowledge any required declaration or privacy information.
- 05
Confirm the handover
Display a reference and explain whether the report has been received, what happens next and which route should be used for emergencies.
Capture what supports triage
Collect enough information for a first decision—without turning residents into surveyors.
The resident should describe what they can see and experience. The property team remains responsible for diagnosis, prioritisation and the appropriate response.
A useful communal maintenance report usually includes
- The exact communal location, such as the third-floor east corridor or the bin-store entrance.
- A plain-language description of what has happened or what is not working.
- When the issue was first noticed and whether it is changing or recurring.
- A simple urgency indicator supported by practical questions about immediate risk or loss of service.
- Optional photographs that show context as well as the close-up condition.
- A resident name and contact route where follow-up may be needed.
- The flat or unit number where it helps the team understand access or proximity.
Light broken. Please fix.
The ceiling light outside flats 21–24 on the third-floor east corridor has been off since yesterday evening. The adjacent corridor light is working.
Ask for categories only when they help route or prioritise the record. A resident may not know whether a leak is caused by plumbing, roofing or drainage. “Water entering through the ceiling beside the stairwell” is often more useful than forcing an uncertain technical diagnosis.
For a deeper information template, see the guide to what a maintenance report should include.
Protect the experience
Avoid the mistakes that turn a convenient scan into another dead end.
Most failures are not caused by the QR technology. They come from unclear ownership, weak form design or a poor operational handover.
Sending everyone to a generic contact page
Requiring residents to select the building, department and issue type from long lists recreates the same uncertainty the code was meant to remove.
Collecting an essay instead of structured context
One large description box makes location, urgency and access information difficult to identify. Use a small number of focused questions and retain a description field for anything not covered.
Using photographs as a substitute for location
A close-up image of a damaged item may not show which floor, doorway or communal area it belongs to. Ask for location explicitly and guide residents to include a contextual photograph where useful.
Failing to define ownership after submission
The digital journey must lead to an inbox, queue or team with a clear review responsibility. Confirmation without an operational owner only makes the failure less visible.
Publishing private information through the public route
Public emergency contact numbers can be intentionally approved for residents. Engineer access notes, private documents, utility cut-off details and escalation information require separate, authorised access.
Pilot before scaling
Use a controlled rollout to test both the resident experience and the office response.
A technically successful scan is not enough. The pilot should show that residents can complete the journey and that teams can review and progress the resulting records.
- 01
Choose a representative pilot block
Select a building with known communal-reporting activity and a team willing to review the workflow closely.
- 02
Define the accepted resident tasks
Start with a small, clear set of actions and document which requests must still use another route.
- 03
Agree the questions and ownership
Confirm what information is required, who reviews new records and how urgent or misdirected submissions are handled.
- 04
Install and test the signage
Test scanning on common devices, from normal standing positions, under the lighting conditions in the building.
- 05
Review early submissions
Look for abandoned journeys, repeated missing details, unclear categories and records that still require avoidable follow-up.
- 06
Refine before wider deployment
Adjust copy, questions, task choices, notifications and team responsibilities before producing signs for more blocks.
Useful pilot measures
- Percentage of reports with a precise communal location.
- Percentage containing enough information for an initial triage decision.
- Percentage with useful contextual photographs where evidence was relevant.
- Number of reports requiring a follow-up call solely to obtain missing basic details.
- Time from submission to first review by the responsible team.
- Resident feedback about clarity, confidence and ease of completion.
Evaluate the whole service
Questions to ask before choosing a QR reporting platform.
The visible code is the simplest part of the system. Procurement and operational review should focus on security, configuration, ownership and the information handover.
- Does each building use a secure, revocable route rather than exposing an internal record ID?
- Can resident tasks and wording be configured for each organisation?
- Can public resident information be kept separate from private engineer and office records?
- Where are uploaded photographs stored, and are they served only through protected routes?
- How are new reports assigned, reviewed, prioritised and audited?
- Can the team see the exact source building and reporting route for every submission?
- What happens when email or messaging delivery is unavailable?
- Can an existing QR image be regenerated without unexpectedly invalidating printed signs?
- How are inactive blocks, organisations or task types prevented from accepting new submissions?
- What resident fallback is available when a person cannot or does not wish to scan a QR code?
The answers should describe the actual data flow and operating model, not only the design of the resident form. Explore the current FSEngage resident-reporting workflow for an example of how the public journey, private evidence and office review can remain connected without becoming the same access layer.